GIT - Assignment


1] Create a github account.
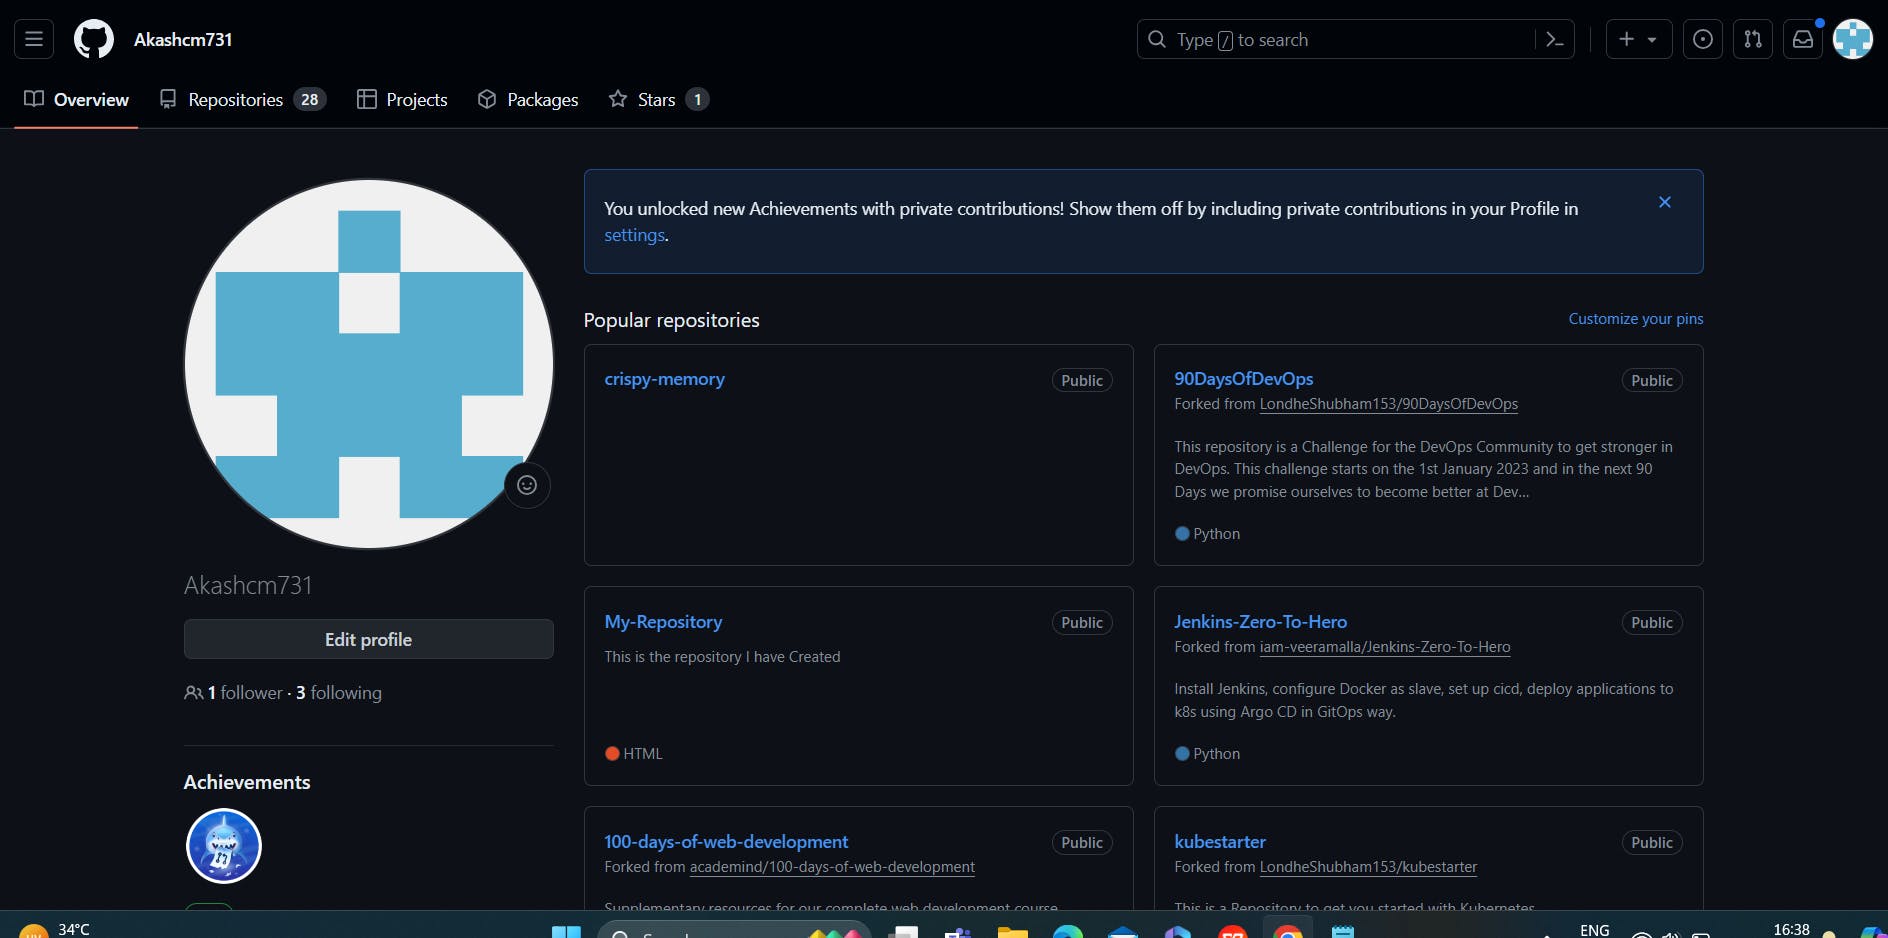
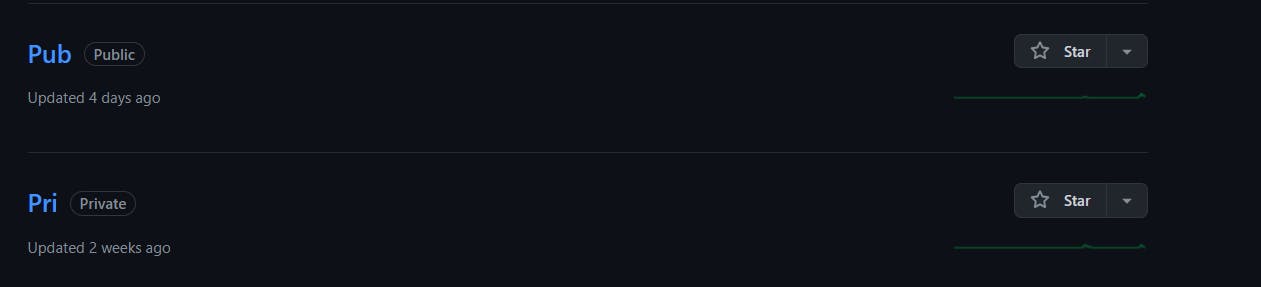
2] Create a public and private repo Github.
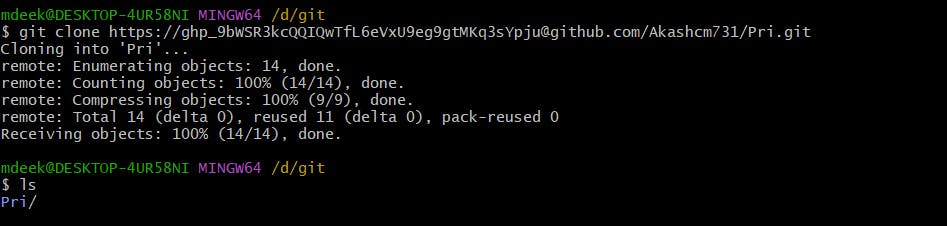
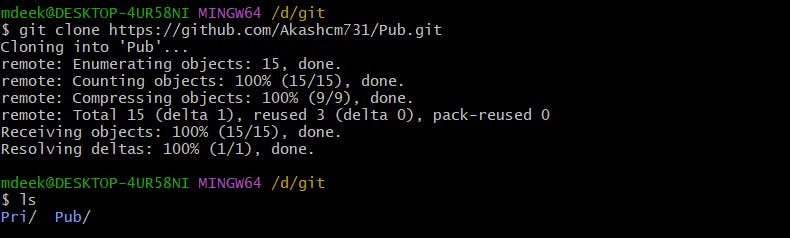
3] Clone both the repos from github to local. Try cloning private repo without any errors in your local machines.
4] Git pull vs git fetch vs git clone
git clone :
when you want to create a local copy of a remote repository for the first time. This is typically done when you start working on a project.
It brings entire repository to the local
git pull :
It is used to get only new changes from central repository (Incremental changes)
git fetch :
git fetch means, only bringing changes from central repo to remote repo. These changes will not be integrated with the local repo
5] git merge vs git rebase
Both are used to integrated changes from one branch to another branch
Merge
It creats a new commit
Maintains the history of each branch but commits will be scattered
Rebase
Maintains linear commit history
Rewrites commit history
6] git checkout vs git swtich
git switch focuses only on switching the branch whereas git checkout can be used to checkout to another branch and also to a specific commit
git switch
Branch Switching:
Primarily designed for switching between branches.
COPY
git switch <branch_name>
Branch Creation:
Can be used to create a new branch and switch to it in one step.
COPY
git switch -c <new_branch_name>
git checkout
Branch Switching:
Used for switching between branches.
COPY
git checkout <branch_name>
File Discarding:
Used for discarding changes in the working directory.
COPY
git checkout -- <filename>
Commit Checking Out:
Can also be used to check out a specific commit (in detached HEAD state).
COPY
git checkout <commit_hash>
7] git diff command for file and branch comparision
compare changes between files or branches in a Git repository
1. File Comparison:
a. Compare the Working Directory with the Last Commit:
COPY
git diff <filename>
This command shows the differences between the changes in the specified file in the working directory and the last committed version.
b. Compare Between Two Commits:
COPY
git diff <commit1> <commit2> -- <filename>
2. Branch Comparison:
a. Compare the Working Directory with Another Branch:
COPY
git diff <branch_name> -- <filename>
This command shows the differences between the changes in the specified file in the working directory and the version in another branch.
b. Compare Between Two Branches:
COPY
git diff <branch1> <branch2> -- <filename>
This command compares the specified file between two different branches. Replace <branch1> and <branch2> with the actual branch names.
c. Compare All Changes Between Two Branches:
COPY
git diff <branch1>..<branch2> -- <filename>
This command compares all changes between two branches for the specified file. The .. syntax is used to indicate the range between two branches
8] Merge-conflicts: why and what is the solution.
It is a event which takes place when git is unable to resolve the difference between 2 commits automatically. Git can automatically merge the changes only if the commits are on different lines or branches
Merge conflict can be resolved by mutual communication with the developers
9] git tag
In Git, a tag is a reference to a specific commit in the Git history. It's like a snapshot of a specific version of your code at a particular point in time. Tags are often used to mark significant points, such as release points or version numbers.
Here are some common tasks related to Git tags:
1. Creating a Tag:
To create a lightweight tag (just a name pointing to a specific commit), use:
COPY
git tag <tag_name>To create an annotated tag (includes a message and additional information), use:
COPY
git tag -a <tag_name> -m "Tag message"
2. Listing Tags:
To list all tags in your repository, use:
COPY
git tag
3. Displaying Tag Information:
To display information about a specific tag, use:
COPY
git show <tag_name>
4. Pushing Tags to a Remote Repository:
Tags are not automatically pushed to remote repositories when you push changes. To push tags, use:
COPY
git push origin <tag_name>or to push all tags:
COPY
git push --tags
5. Deleting a Tag:
To delete a local tag, use:
COPY
git tag -d <tag_name>To delete a remote tag, use:
COPY
git push --delete origin <tag_name>
6. Checking Out a Specific Tag:
To check out the code at a specific tag, use:
COPY
git checkout <tag_name>
7. Tagging a Specific Commit:
To tag a specific commit (using the commit hash), use:
COPY
git tag -a <tag_name> <commit_hash>
10] git revert vs git reset vs git restore
git restore
git restore is used to restore the working directory or individual files to a specific state.
git revert
git revert is used to create a new commit that undoes the changes made by a previous commit.
It does not modify existing commits but instead creates a new commit that undoes the changes introduced by a specific commit.
git reset
Depending on the options provided with git reset, it can be used to unstage changes, move the branch pointer, or even discard commits. Here are some common use cases:
1. Soft Reset:
A soft reset moves the branch pointer to a specific commit, but it leaves the changes in the working directory and the index (staging area).
COPY
git reset --soft <commit>
2. Mixed Reset (Default):
A mixed reset (default) also moves the branch pointer to a specific commit and resets the index (staging area) to match that commit. This effectively unstages changes but keeps them in the working directory.
COPY
git reset <commit>
3. Hard Reset:
A hard reset moves the branch pointer to a specific commit, resets the index to match that commit, and discards changes in the working directory. Be cautious when using a hard reset as it permanently discards changes.
COPY
git reset --hard <commit>
4. Unstage Changes:
To unstage changes without modifying the working directory, you can use a mixed reset (default) with the
HEADreference.COPY
git reset HEAD
5. Discard Uncommitted Changes:
To discard uncommitted changes in both the index and the working directory, you can use a hard reset with the
HEADreference.COPY
git reset --hard HEAD
6. Interactive Reset:
An interactive reset allows you to interactively choose which changes to reset. It opens an editor where you can select or edit the changes you want to keep.
COPY
git reset -i <commit>
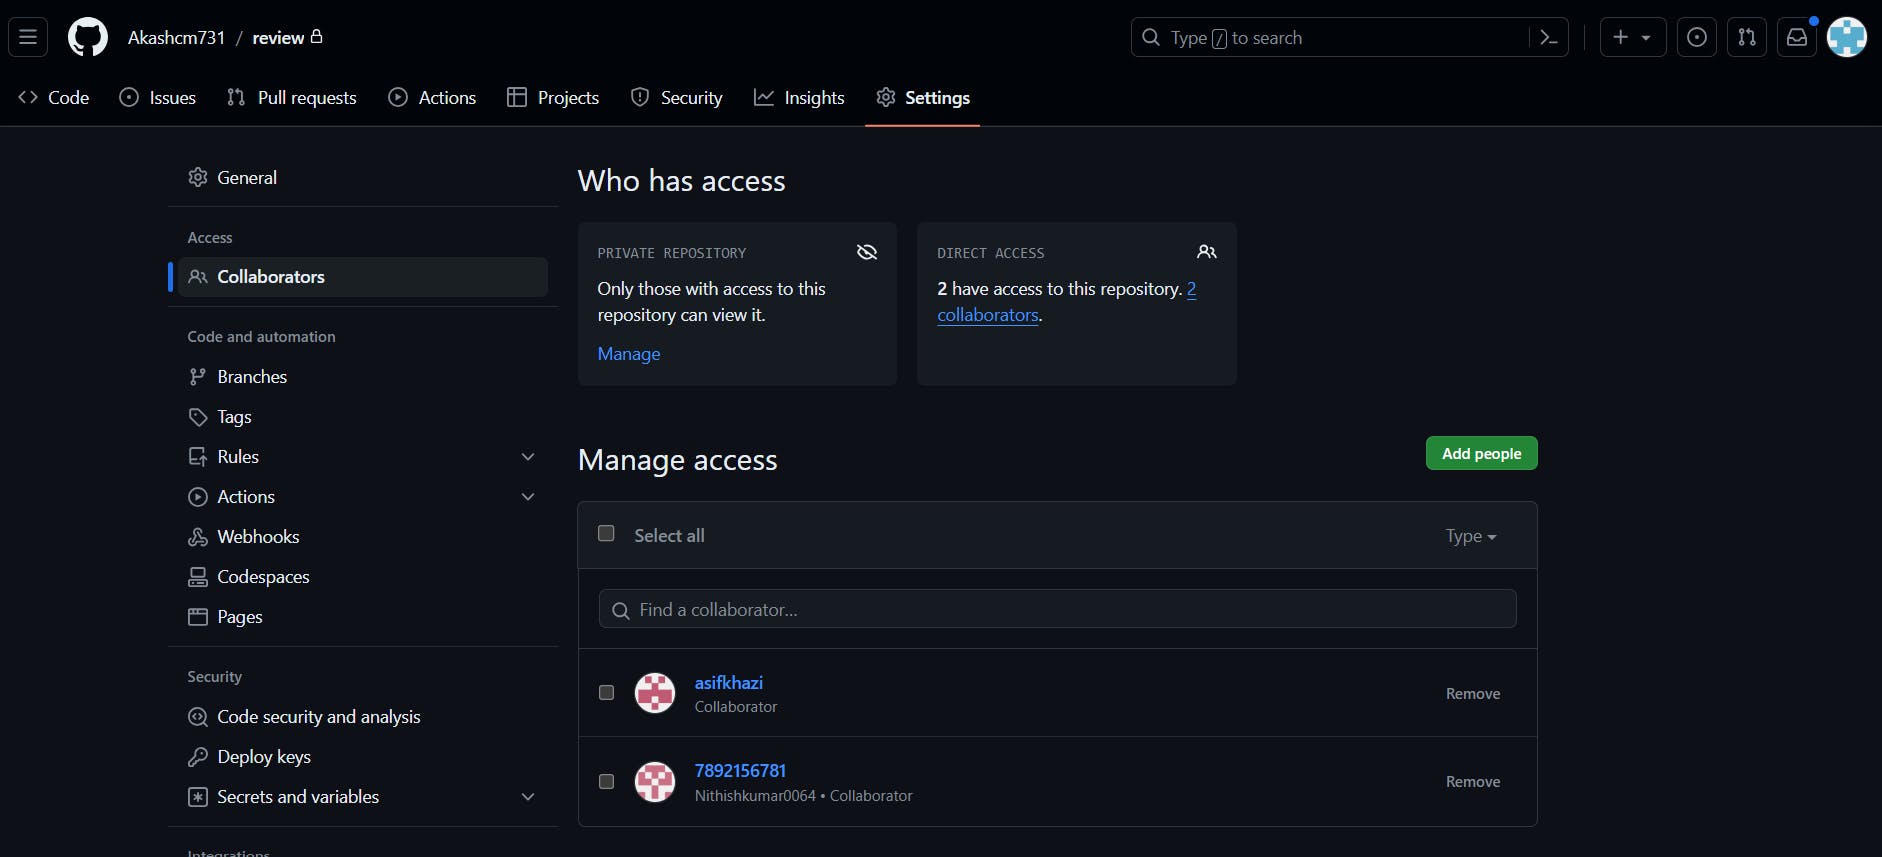
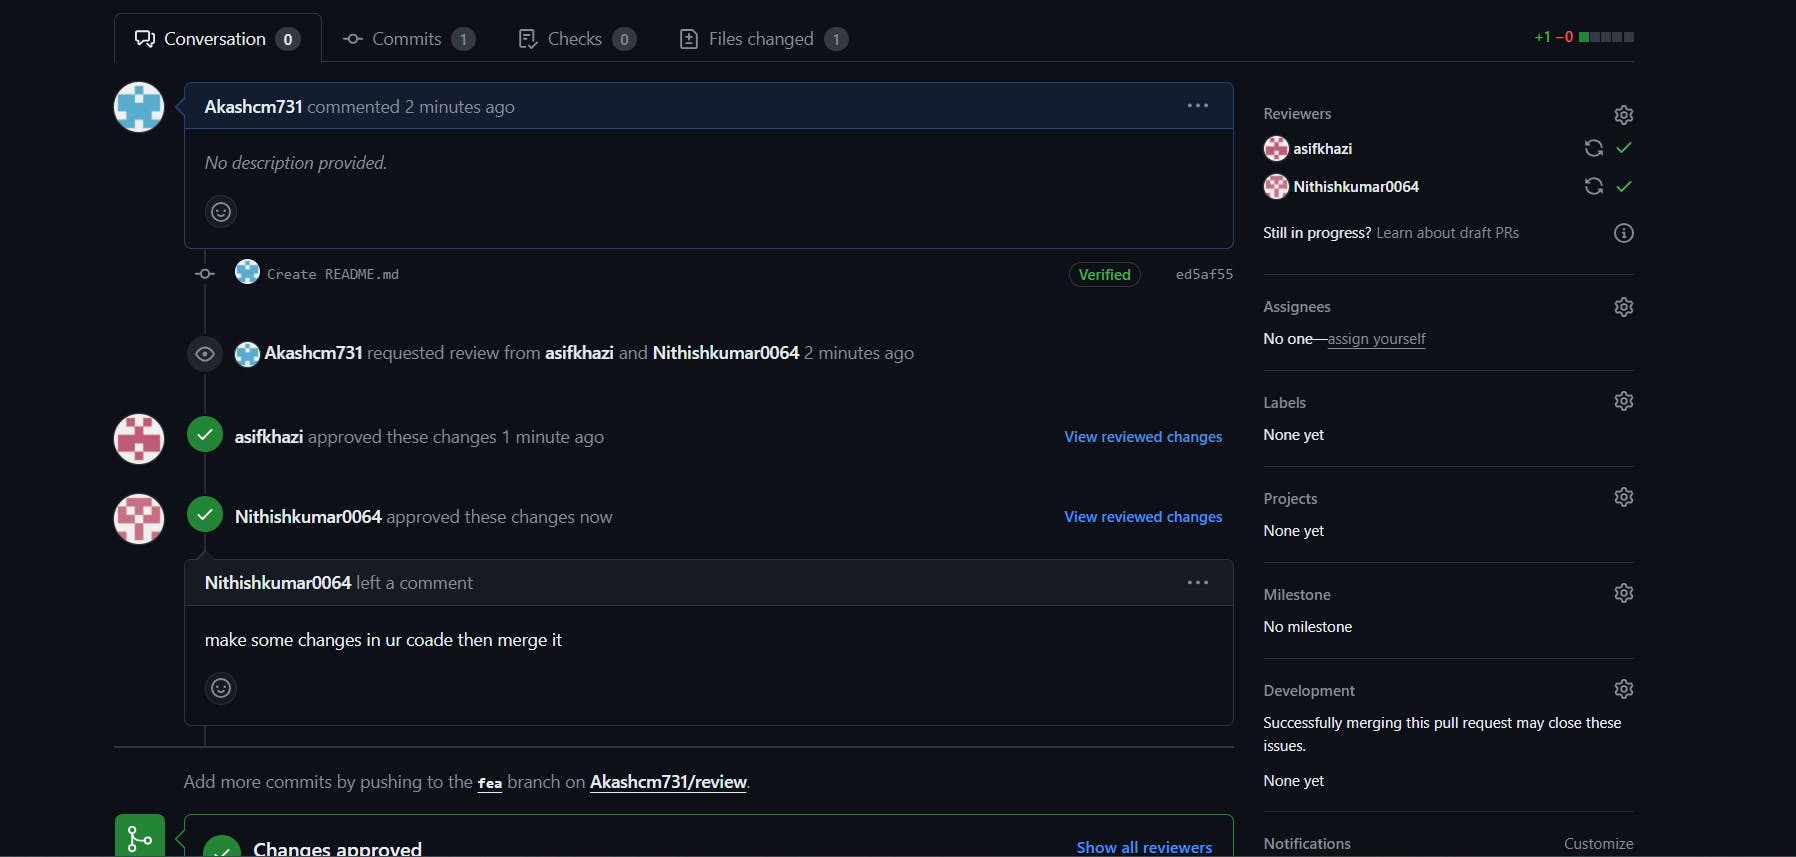
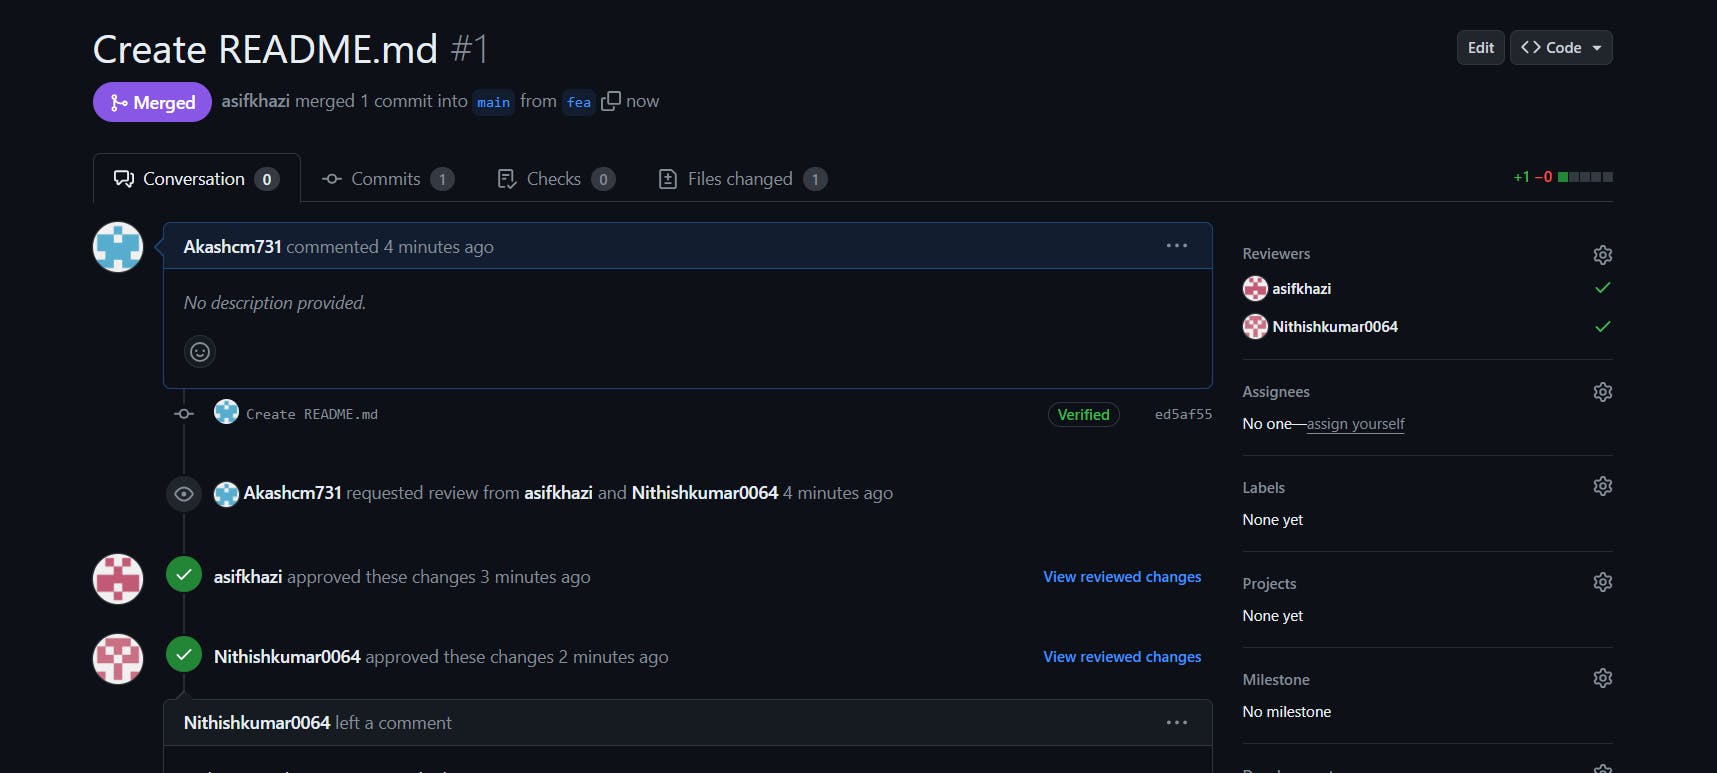
11] Create a Pull request, Add collaborators and get atleast 2 reviews.
12] understand what is Github actions.
GitHub Actions is a platform provided by GitHub that allows you to automate various workflows, including building, testing, and deploying your code directly from your GitHub repository. With GitHub Actions, you can define custom workflows using YAML files, and these workflows are triggered by events like pushes, pull requests, or issue comments.
Here are some key concepts and features of GitHub Actions:
Workflow:
- A workflow is a set of customizable automation processes. Workflows are defined in YAML files within the
.github/workflowsdirectory of your repository.
- A workflow is a set of customizable automation processes. Workflows are defined in YAML files within the
Events:
- Workflows can be triggered by different events, such as pushes to specific branches, pull requests, releases, or scheduled intervals.
Jobs and Steps:
- A workflow consists of one or more jobs, and each job runs on a virtual machine or container. Jobs are made up of individual steps, and each step represents a single task.
Actions:
- Actions are reusable units of code that perform a specific task. You can use pre-built actions from the GitHub Marketplace or create your own custom actions.
Runners:
- Runners are the environments where jobs and steps run. GitHub provides hosted runners with various operating systems (Linux, Windows, macOS), or you can use self-hosted runners on your own infrastructure.
Workflow Syntax:
- Workflow configuration is written in YAML. It allows you to define the structure of your workflow, including jobs, steps, and their dependencies.
Benefits of GitHub Actions:
Integration with GitHub: Actions are tightly integrated with GitHub repositories, making it easy to set up and manage workflows.
Diverse Ecosystem: A vast ecosystem of pre-built actions is available on the GitHub Marketplace, covering a wide range of use cases.
Customizable: You can define complex workflows with multiple jobs, steps, and conditions to suit your specific development and deployment needs.
Free Tier: GitHub Actions offers a generous free tier for public repositories and a certain number of free minutes for private repositories.